Installations
Download and Install the preview version of 3D Slicer: https://download.slicer.org/
**Important: Please select the Preview version fo 3D Slicer to run auto3dgm. We currently do not support Auto3dgm on the stable 3D Slicer. **
Install Auto3dgm extension via Extension Manager in Slicer
Open 3D Slicer.
In 3D Slicer, go to
View->Extension Manager.In the “Install Extensions” tab, select
Auto3dgmextension, and click on “Install”. For more information on how to install an extension using the Extension Manager in Slicer, please visit https://bit.ly/SlicerExtensionManagerAfter the extension is installed, restart slicer.
The registration part of
Auto3dgmrelies on the state-of-art optimizermosek. To useAuto3dgm, please download an academic license (free) from mosek.Follow the steps instructed on their webpage: Proceed with Personal Academic License –> Provide your email and organization –> Accept the license agreement. The mosek license will be sent to the email you provided in a few minutes.
Download the mosek license
mosek.licfrom your email and move it to the Auto3dgm extension folder.For Windows users, the location will be, e.g.,
C:\Users\[UserName, e.g., DougBoyer]\AppData\Roaming\NA-MIC\Extensions-29250\Auto3dgm\lib\Slicer-4.11\qt-scripted-modules\auto3dgm_nazar\libAs a note, if the folder AppData (and everything inside it) was “hidden”, try the following: go back to the “UserName” folder, click on the “View” tab at the top of explorer window, click on the check box to show “hidden items”, right click on “AppData” select properties, and then unclick the check box next to “hide” and then provide administrator access in order to get all the subfolders unhidden.
For Mac users, the location will be, e.g.,
/Applications/Slicer.app/Contents/Extensions-29222/Auto3dgm/lib/Slicer-4.11/qt-scripted-modules/auto3dgm_nazar/libAs a note, if you could not find the “Slicer.app” folder, try the following: open a finder window, click on the “Applications” folder in the left panel, find the Slicer app in the folder, right click on the “Slicer” app, and then select “Show package contents”.
Use the path location above, and move the mosek.lic in the correct lib folder. Note there are two lib folders, you want to move the license to the one under auto3dgm_nazar. Once you finish this step. The Auto3dgm extension is available to use now.
Install Auto3dgm beta version from source code
Many times, the extension version does not reflect the latest development of the code, just like Slicer Stable vs. Slicer Preview. If you want to get the most updated version of Auto3dgm, you may use the following steps to download from the source code.
- Open a terminal and type the following to download the
Auto3dgmbeta version:git clone --recursive https://github.com/ToothAndClaw/auto3dgmSlicerExtension Open 3D Slicer.
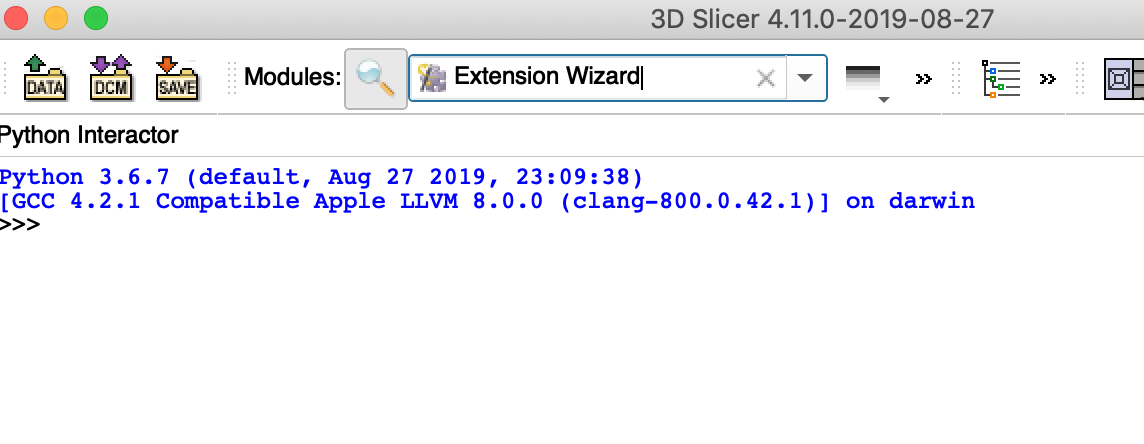
Manually install
Auto3dgmmodule in 3D Slicer.In 3D Slicer, select Extension Wizard. image demo
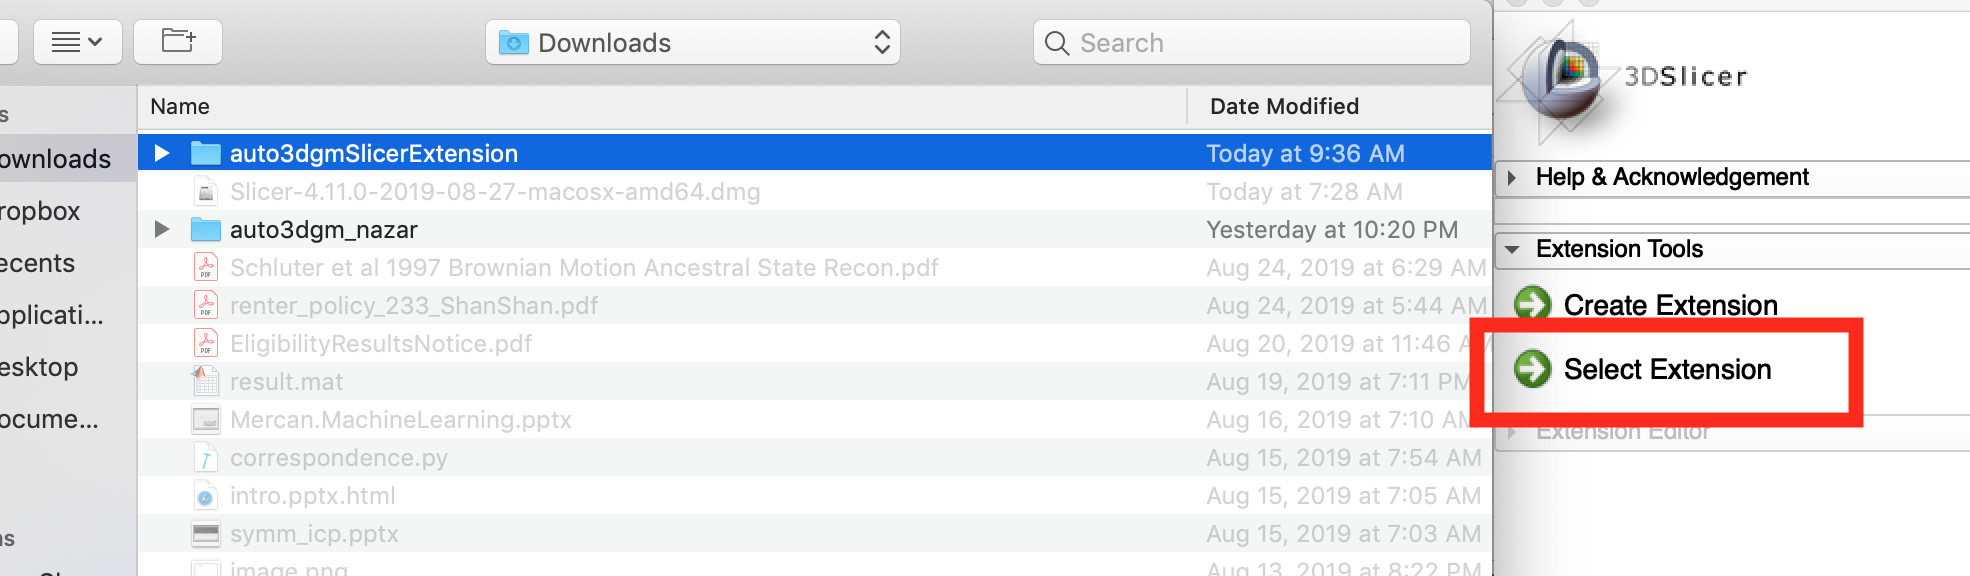
Click Select Extension and choose the folder auto3dgmSlicerExtension. image demo
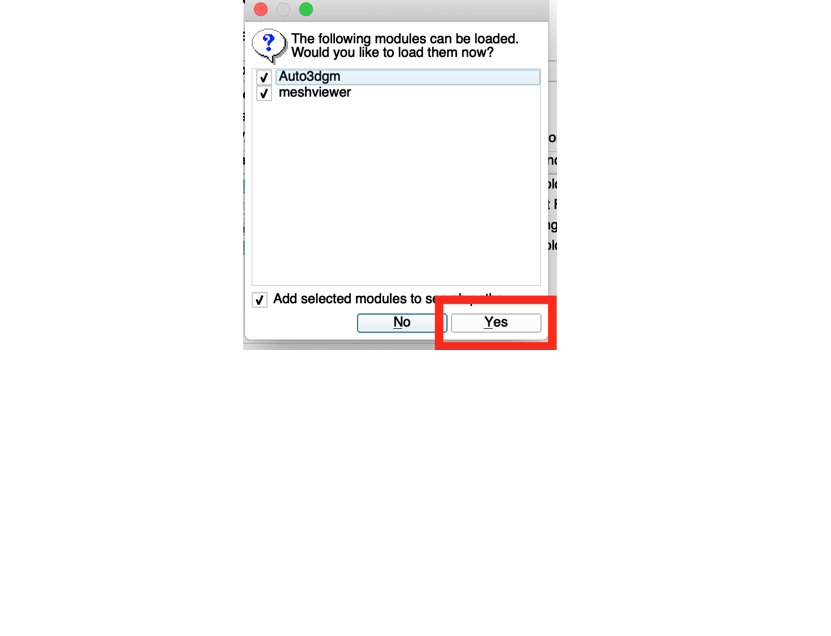
Click yes to load the
Auto3dgmand thewebviewermodules. image demo
- Download and install the
moseklicense as described in Step 6.